Create your own Christmas photo booth in 12 easy steps
)
Here's a step-by-step guide to help you set up a DIY Christmas photo booth:
Materials needed:
1. Backdrop:
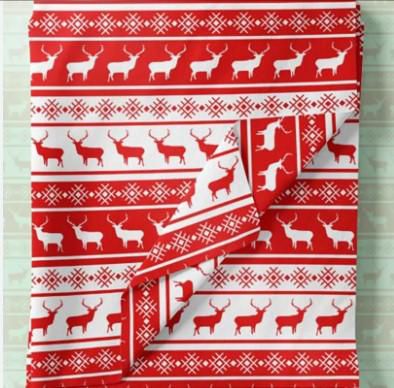
· Christmas-themed wrapping paper, fabric, or a large bedsheet with holiday patterns.
· String lights, tinsel, or ornaments to decorate the backdrop.

2. Props:
· Santa hats, reindeer antlers, elf hats, and other Christmas-themed accessories.
· Signs with holiday messages (e.g., "Merry Christmas," "Ho Ho Ho!," "Naughty or Nice?").
· Christmas-themed glasses, scarves, and other accessories.

3. Frame:
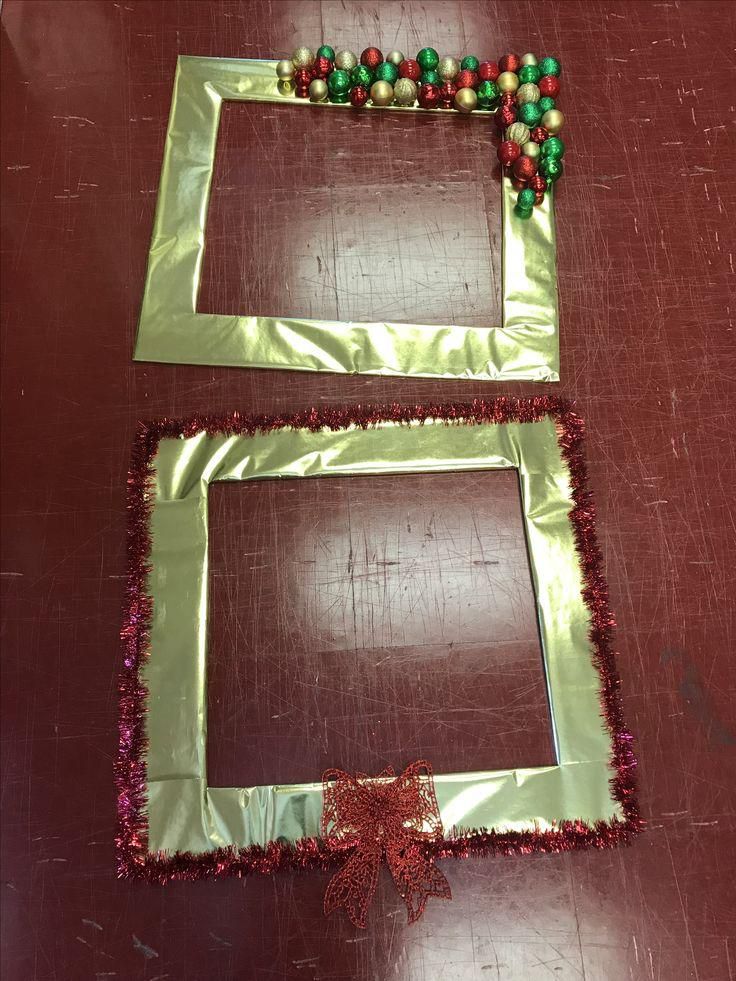
· Large empty frame or create a DIY frame using cardboard or foam board. Decorate it with Christmas ornaments or paint it in festive colors.

4. Camera:
· Use a digital camera, smartphone, or tablet for taking photos.
5. Tripod:
· If using a camera, a tripod will help keep the camera steady for better photos.
6. Lighting:
· Good lighting is essential. Use natural light from windows or add additional lighting with lamps or string lights.
7. Photo booth software (Optional):
· If you want to add digital props or filters, consider using photo booth software on a tablet or computer.
Step-by-step guide:
1. Choose the location:
· Select a space in your home with enough room for the photo booth setup and for people to pose comfortably.
2. Set Up the backdrop:
· Hang the Christmas-themed backdrop, making sure it covers the area where photos will be taken.
3. Decorate the backdrop:
· Add decorative elements like string lights, tinsel, or ornaments to enhance the festive atmosphere.
4. Arrange props:
· Place the props in an easily accessible location near the photo booth for people to grab and use.
5. Set up the frame:
· Position the frame within the photo booth area. This can be a standalone frame or attached to the wall.
6. Adjust lighting:
· Ensure good lighting in the photo booth area. Natural light is ideal, but if needed, use additional lamps or string lights.
7. Camera setup:
· Set up your camera on a tripod or use a smartphone holder to keep it steady.
8. Test shots:
· Take a few test shots to make sure the lighting is right, and the camera is positioned correctly.
9. Encourage creativity:
· Encourage people to use the props and get creative with their poses.
10. Capture memories:
- Start taking photos and capture the festive moments. Consider using burst mode for continuous shots.
11. Optional digital enhancements:
- If using photo booth software, you can add digital props, filters, or frames to the photos.
12. Print or share photos:
- After the event, you can print the photos or share them digitally with your guests.
Remember, the goal is to have fun and create lasting memories, so feel free to customize the setup based on your preferences and the available materials.

)
)
)
)
)
)
)
)
)